


It's been another busy week! I can't believe we're more than halfway through the quarter. That means it's almost the end of my freshman year! It's still weird to think that I'm in college, let alone that I'm almost done with my first year.
My dad and brother are here to visit me. We went to a Chemistry Department dinner/awards thingy last night. It's so great to see them! I'll have to post pictures of my brother all dressed up - my mom got him a periodic table tie and I can't wait to show it off!
Since last week's post wasn't really a WOW post, I think I'm definitely making up for it with this one.

Today we are making lace shorts! I am in loooove with these. So cute and relatively easy!


(Thank you to my lovely friend Kellyn for being my photographer!)
This is the picture on pinterest that gave me the idea:
I think I replicated them pretty well, huh?
It's a kind of lengthy tutorial, but the project itself doesn't take too long. I just like to be specific. And trust me - it'll all be worth it in the end!
Here's what you'll need:
-a pair of shorts or jeans that you don't mind cutting off and making into shorts (I got a pair of jeans at Goodwill that fit at the waist but were too short)
-a pair of well-fitting shorts that you will use for length purposes (you won't be cutting these!)
-lace
-sewing machine
-needle and thread
that's it!
Here's how:
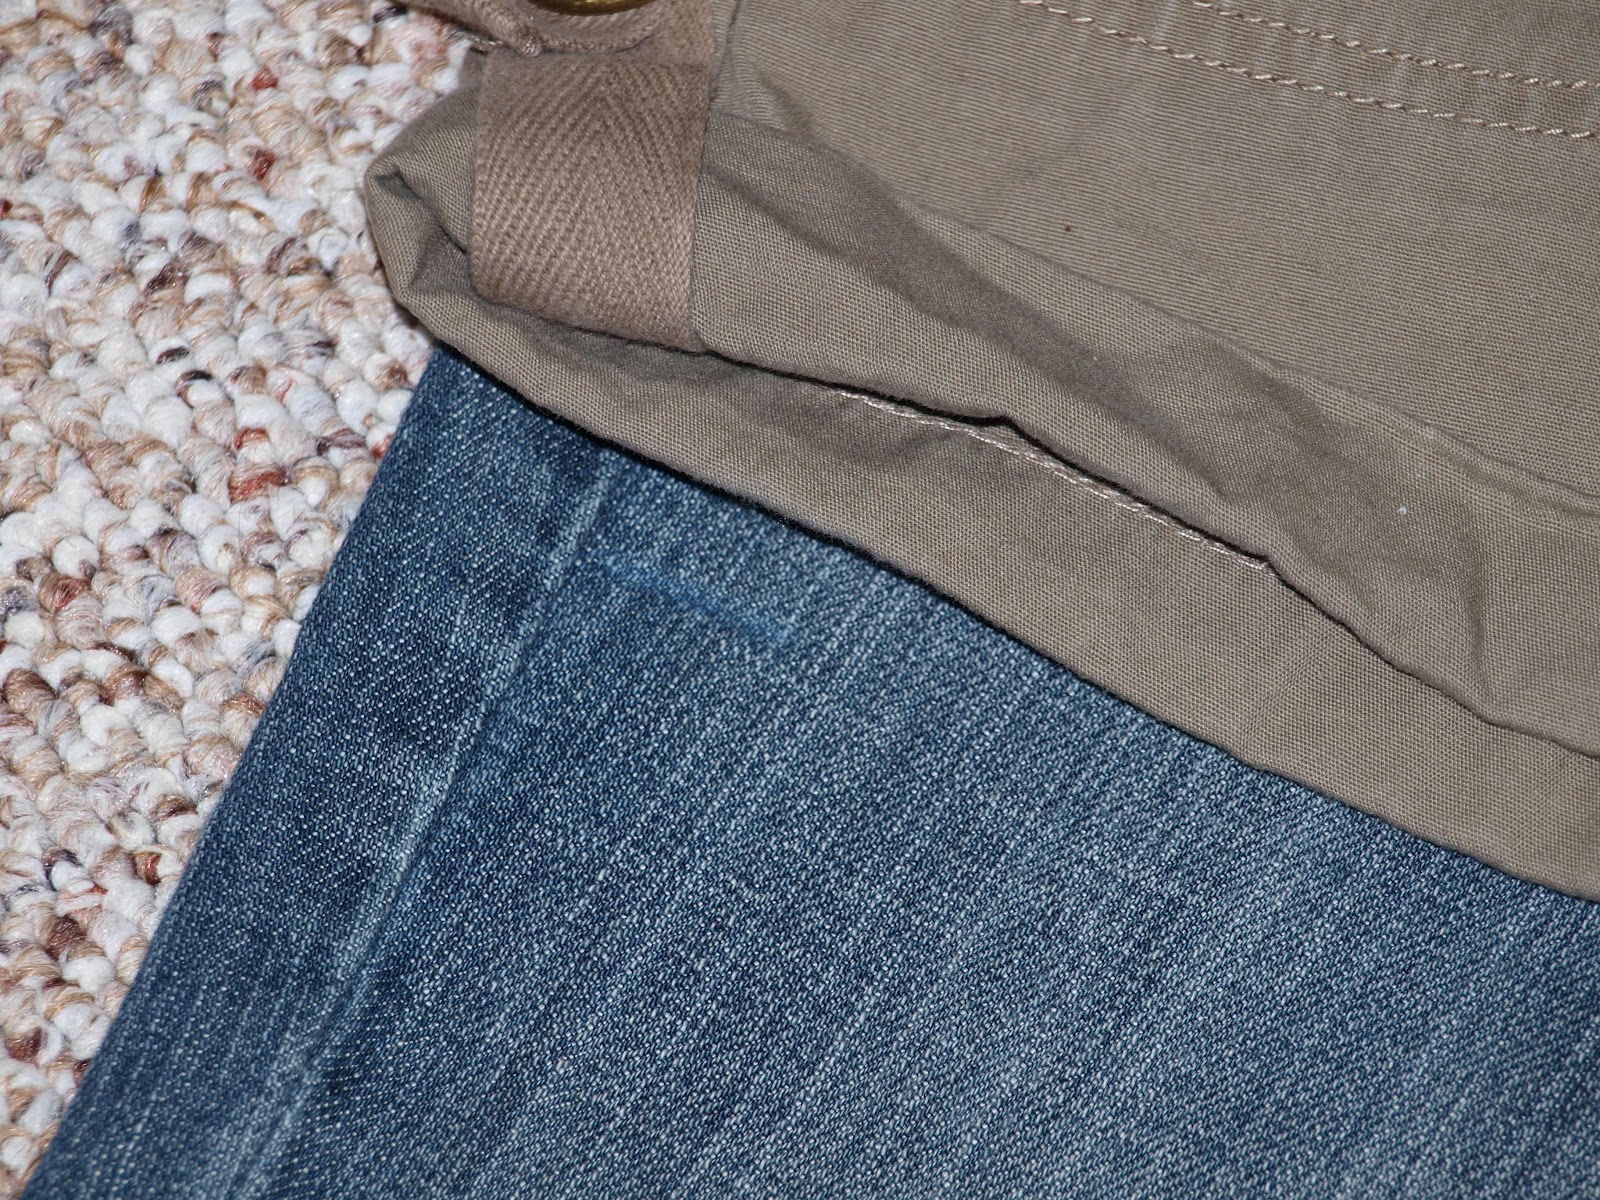
1. I used a pair of jeans and cut them off, but if you're using shorts from the get-go then skip these next few steps. Lay your jeans out flat. Make sure the extra material they have in the butt area is completely flat as well. This extra material will make the top uneven but you want the legs to be completely straight for when you cut (see below right picture).


2. Place a pair of well-fitting shorts on top of the jeans. Line up the tops, the crotch area, and the sides. Pin in place if needed. Make a mark where you want the length to be. I folded the bottoms of my shorts over twice to make cuffs and give a more finished look. If you are doing this, make sure to leave enough room (about two inches extra - one inch for each fold). Make a mark where you want to cut (the bottom picture has a mark, but I don't know if you can see it).

3. Cut the jeans off at the mark.

4. Take the lace and place it over the areas you want covered. I did the main area of the right leg and the inside of the pocket of the left leg. I also think it would look good on the back pockets. Cut the lace down to a little bigger than the size you'll need. Tip: I did the main area of the right leg because of the placement of the zipper...it allowed the not-so-pretty edge of the lace to be concealed by the thing that covers the zipper (I don't know the terminology).

5. Fold the edges under about 1/4 of an inch and start pinning. Make the nice edges of the lace line up with the edges of the pocket or the leg of your shorts. (The picture above has started pinning - you can see the nice, folded over edges along the top and the right of the lace). Do this for all of the areas you want to have lace.
6. If you are making cuffs on the bottom of your shorts, don't worry about that yet. IMPORTANT: Make the lace go pretty far down BUT be sure to keep the lace from about the bottom two inches!! If you sew the lace on the part that you will be folding over, you'll be able to see the stitches when you fold it. When you fold it up, the stitches should be well-concealed by the cuff, but make sure you don't go past that point.
7. Start sewing! I used a zig zag stitch and white thread since my lace is white. I recommend the zig zag stitch so you make sure you're actually catching at least some part of the lace because there are holes in it. The white thread blends into the white lace so you can't tell where all you stitched. I'm not going to lie, sewing this is kind of tough. Twisting and turning your way around the machine so that you sew right on the edge while trying not to sew parts of the legs together is kind of challenging. There's really no technique or special way to do it, just try to only sew through the lace and one layer of the jeans!

When you are sewing on the inside of the pocket, be sure to pull the pocket out so you can get the lace as deep in the pocket as possible.


After sewing the inside of the pocket and the right leg.
8. Once you're done sewing on all your lace, iron the bottoms of the shorts to create cuffs. Iron them up once and then flip them up and iron them again so you have a nice clean edge. Use a needle and thread and make a few stitches on the front, back, inseam, and outseam of each leg so they are held in place while washing and wearing.

You're done!

I decided to pair them with a cute 3/4 sleeve button-up shirt from a JCPenney outlet and a light brown Coach belt (my mom got it at a yard sale for $2! She's awesome).

I love my new lace shorts!
UPDATE: This is the super awesome periodic table tie that my mom got for my brother. Isn't it great? He wore it just for me. What a good brother!

All dressed up with my favorite men:

________________________________________________________________________
"Whoever wants to be my disciple must deny themselves and take up their cross daily and follow me." -Luke 9:23
This shorts are too adorable!
ReplyDeleteI'm super impressed with all the tutorials and things you have on your blog! I'll definitely be sticking around!
xo, rach
sincerelypeachy.blogspot.com
I'm so glad you enjoy it! I'm just starting out in the blogging world so it's great to hear such positive feedback :)
DeleteAlyssa
Elemental Carbon